Securing Your Data On Dropbox Using TrueCrypt
The storage of your data on the cloud is becoming common place today and its hard to think that it will change any time soon. I personally have been a big fan of cloud-based services since they first started to come on the scene a few years back. With it though comes concerns around security, most notably is the recent compromise at Dropbox.
If you’re not familiar, this is what The Dropbox Blog reported:
A stolen password was also used to access an employee Dropbox account containing a project document with user email addresses. We believe this improper access is what led to the spam. We’re sorry about this, and have put additional controls in place to help make sure it doesn’t happen again.
While this raises questions as to why a Dropbox employees had a list with user emails, its none the less something we have to deal with. Here is an instance where the vulnerability was the end-user. In fact, if you look at some of the more recent compromises at Security firms and big enterprises, often case the point of entry is through email credentials, but that’s not the point here.
You can do what some security professionals do and avoid all technology, while I can appreciate the approach I prefer to find a way to work with the challenges. That brings us to the point of this post, securing your data while still leveraging the power of Dropbox and other cloud-based services.
Securing Your Data
Being that I believe in the open-source philosophies I set out to look for a comprable solution. In my search I came across TrueCrypt, a free open-source on-the-fly encryption application. At first glance I was less than impressed with its website, it seemed less than appealing, but putting those initial feelings aside I quickly became engaged.
When you visit the site you noticed a couple key features:
- Works across a number of platforms: Windows 7, Vista, XP, MAC OS X and Linux
- Creates a virtual encrypted disk
- Encryption is automatic (on the fly), real-time and transparent
- Shows close to 24 million downloads
I spent some time reading through their documentation and found that the solution was actually highly functional and so it was worth giving it a whirl. That’s what I’ll discuss in the remainder of this post, installing and leveraging TrueCrypt with Dropbox.
TrueCrypt
The first place to start is on the TrueCrypt download page. There you will find the latest releases. In this example I will be using a MAC OS X, version 10.7.4.
Step 1. Installing is simple, simply navigate to the DMG you just downloaded. Double clicking the file will extract a mpkg file.

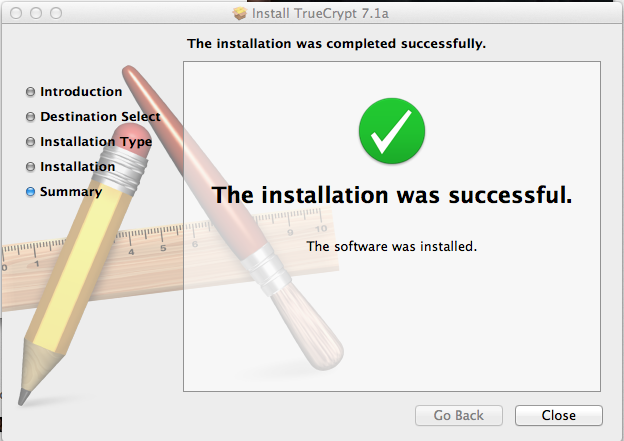
Step 2. Install TrueCrypt by double-clicking the file. It will need to make changes to the system so be prepared to provide your master account information:
Step 3. If you left the install to the default location, which most probably do, then simply navigating to your Applications directory will show you the TrueCrypt icon, double-click it to open the application:
Configuration
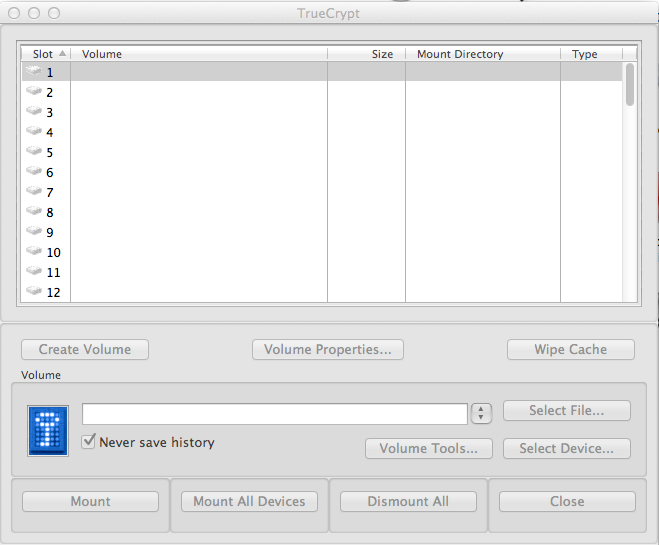
When you open the app, if you find yourself thinking, “Eeek, what the heck am I supposed to do?!?!?” Don’t worry, I did too. This is likely what you’re looking at when you open it:
Well, the good news is that its easier than you might think.
The opening page just seems overwhelming because it’s not designed well and its hard to understand what you’re supposed to do next. So let’s see if I can’t break it down. Our goal is to accomplish 4 things, they are:
- Create Volume
- Create Password
- Create FileKey
- Mount Volume
We’ll do this by following these steps:
Create Volume
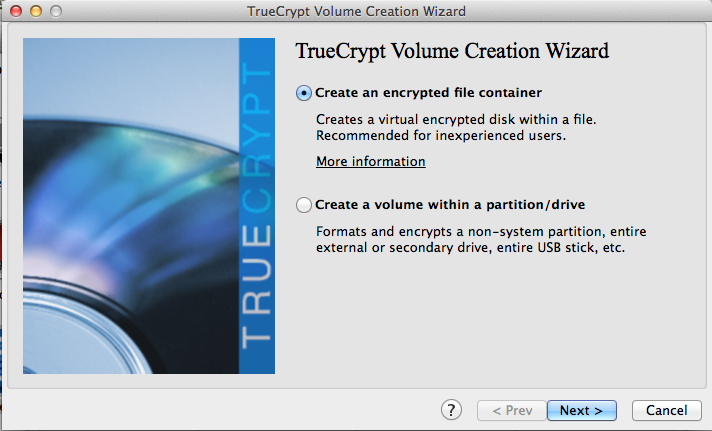
First thing you do is create the volume, for lack of a better word its the bucket in which you will store all your files and folders. When you click on the Create Volume you’ll see something like this:
This is an important page, if you’re looking to use Dropbox then you’re going to want use the Create an encrypted file container. This will allow you to move the container between directories, external drives, and yes, Dropbox directories.
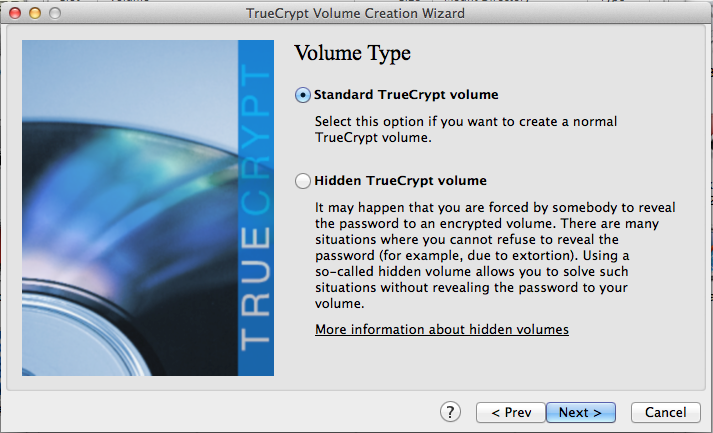
Next thing you do is select the typ of volume, for most all of you the Standard TrueCrypt Volume is good enough.
Ok, the next page is bit confusing, at least it was for me. It reads Volume Location. What its actually saying is give your container a name and choose the directory it will be created in. The good news is that you’re not tied to this location, you can create it locally, then push it into Dropbox.
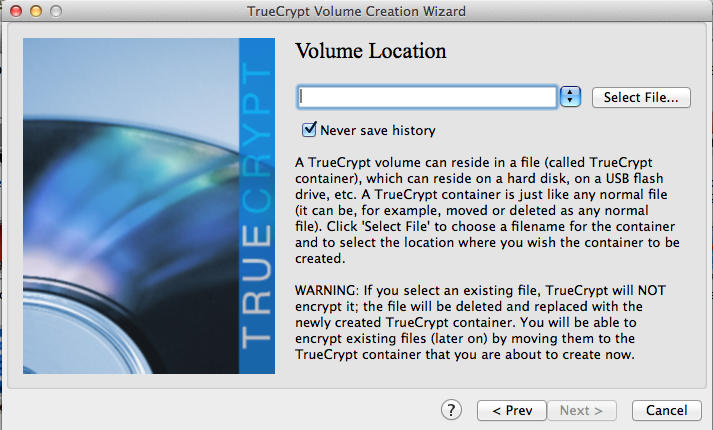
Click on the Select File
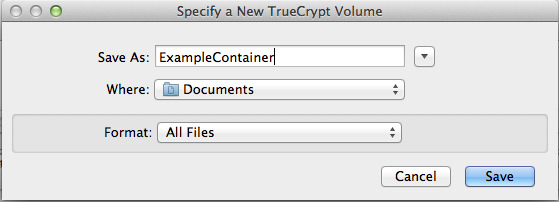
From the image above you can see my container is called ExampleContainer and it’s in the Documents directory.
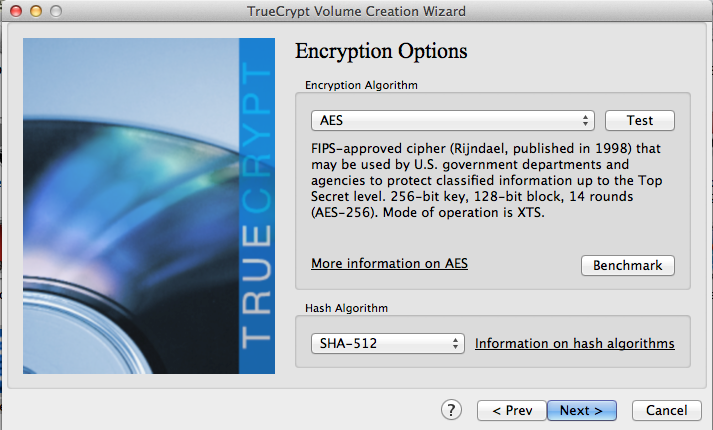
On the following page you’re going to define the type of encryption and hash algorithms to use on the container. I actually really like this, they offered all kinds of options and even allow you to apply a double and triple encryption to the container, a bit much you might say, but its good to know. I won’t get into the various types of encryptions or the hashing algorithms, but for most the users running your container with the AES encryption and SHA-512 hash will be more than enough.
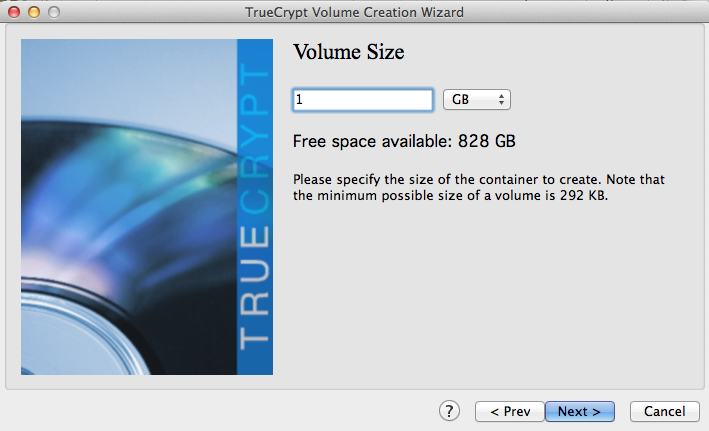
The next page is important, it asks you to define the size of the container. This size defines the amount of content you can put in the bucket. If you’re trying to protect pictures or videos you might be looking at a fairly big container, and that’s ok, but if you’re looking to use it with Dropbox make sure your account has enough space.
In this example I’ll set it at 1 GB:
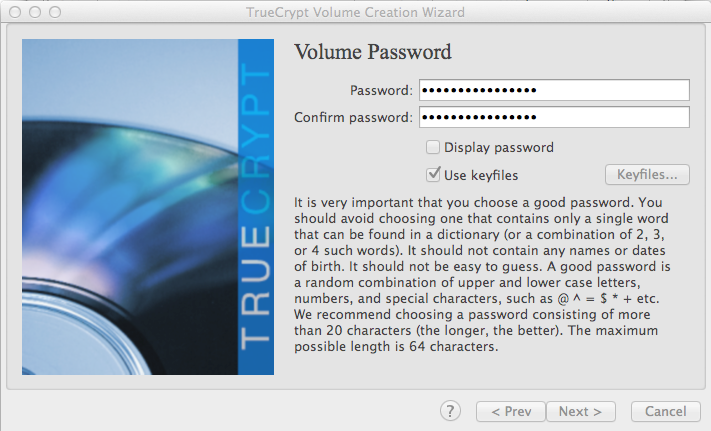
Now we get into setting the password, pretty straightforward, set it once, then verify it. I do want to call your attention to the option to use keyfile, I especially like this option. Not only do you require the password, but you also have to use a keyfile, its a form of duo authentication and its pretty awesome:
To create the keyfile simply check it like I have above and select keyfiles to the right of the option. You’ll then see this page:
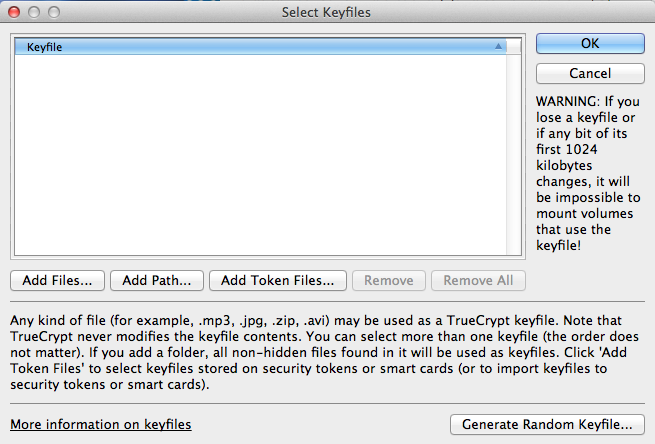
If you have an existing file then you can add it in the first half of the dialog here:
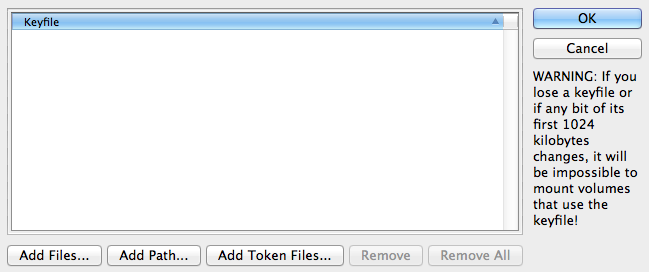
If you haven’t, then you’ll focus here:

Click on Generate Random Keyfile and you’ll see a dialog that looks like this:
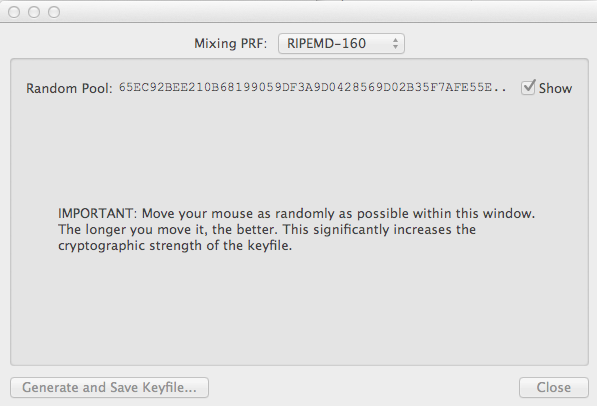
Note that you have the option to change the hash on the file as well. For this instance RIPEMD-160 is good enough for me. The more you move your cursor the more random the file. Pretty cool. Once you’re done moving your curser be sure to click on Generate and Save Keyfile on the dialog. If you click close then you’ll have to start over again.
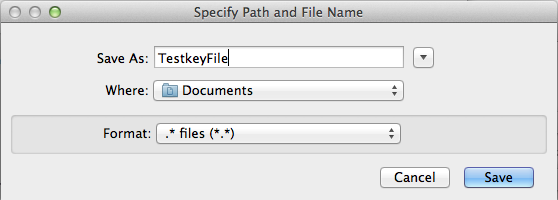
If successful you’ll see this:

Be sure to add the file to the select keyfile dialog to make sure it gets tied to the container created:
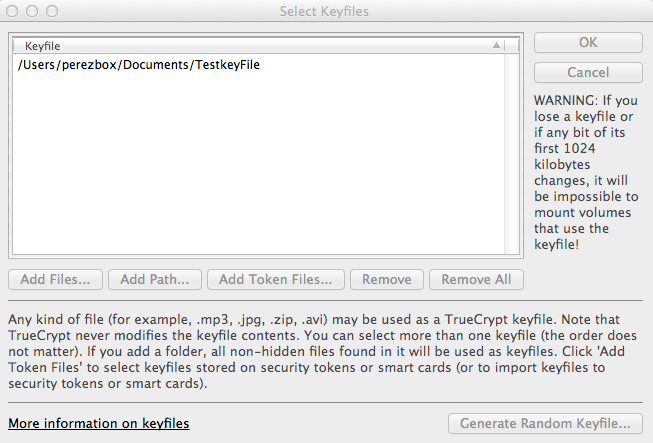
Finally, click Ok . Once done you’ll find yourself back on the password page:
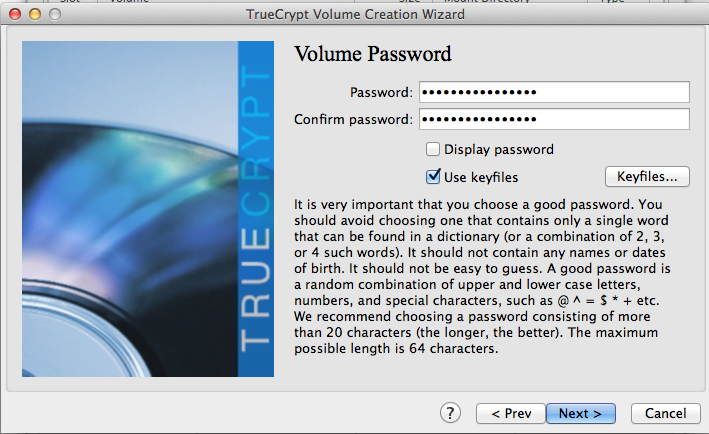
Click Next.
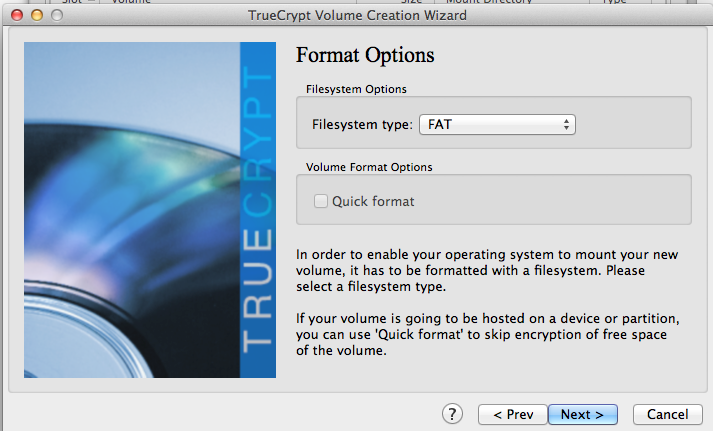
The last thing you’ll be doing is formatting the container, this is an important step. Leaving it on the default setting, should be FAT will be good enough for most:
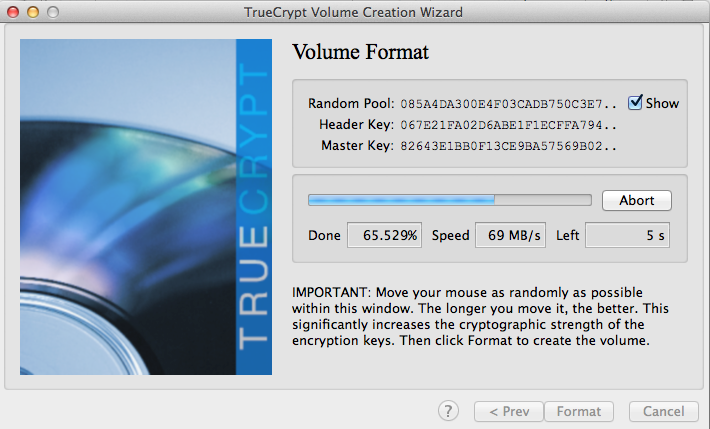
The last thing you do once selecting the type of format is to actually format the drive. Simply click on Format and you’ll be off and running. Note, that the bigger the container size, the longer it will take.
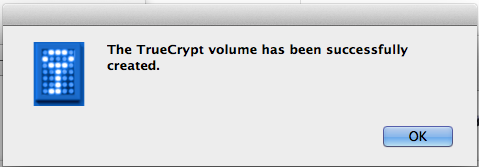
If successful you’ll see the following:
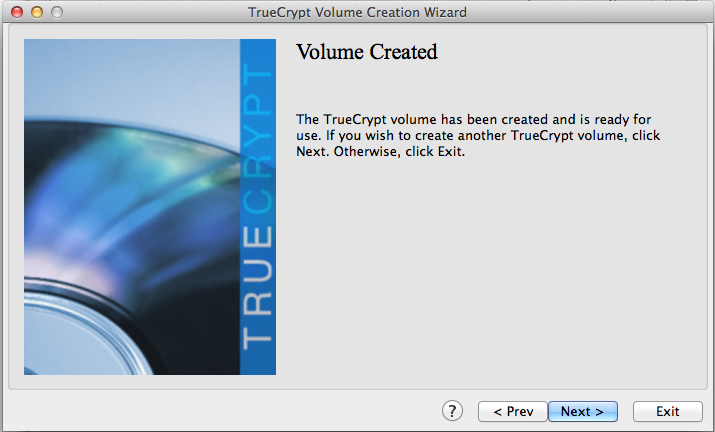
Unless you plan to create another volume click exit on the following dialog:
Mount Your Container
Wow, that took forever, no worries, now that the container is created all you have to do is mount the drive. Once mounted you’ll be able to work within it the same way you would any other directory on your site. If you exited above then you’re likely back on this page:
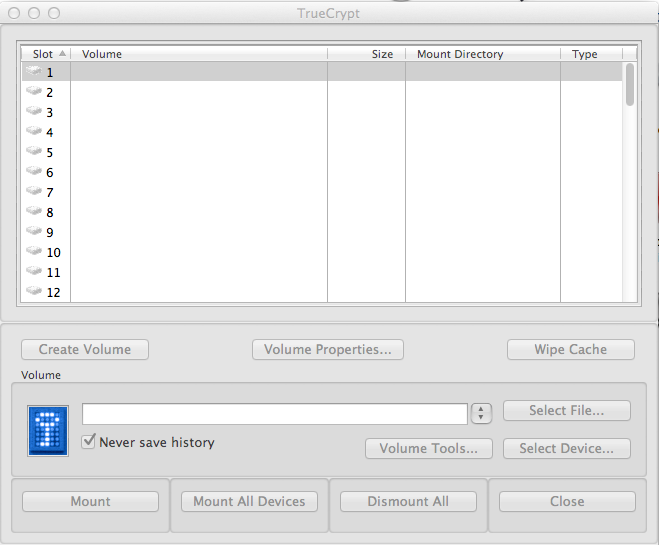
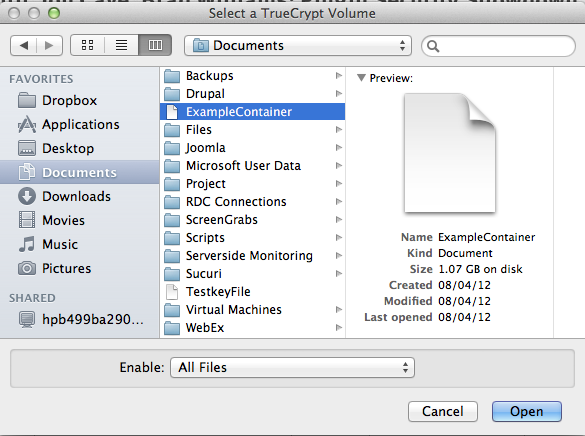
This is good. Now you will click on the select file option. Using this option you will navigate to the container you created:
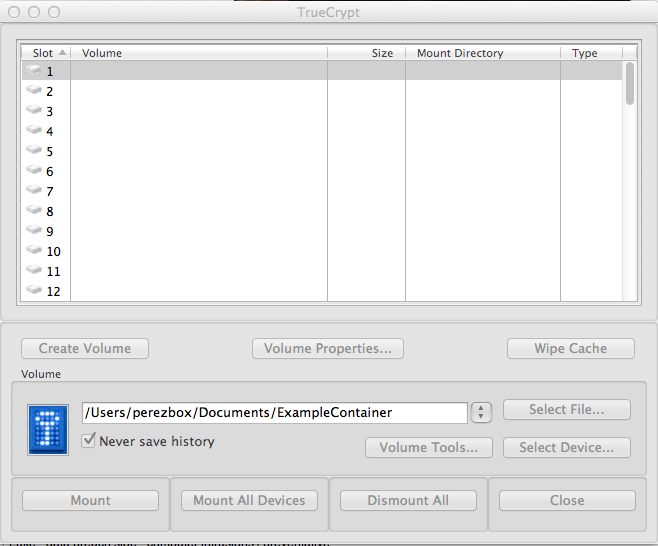
When you click open you will see it look like this:
Now you will click mount. This will present you the dialog to add your password and keyfile:

If you created the key file then you will need that plus the password to access the container. Please, if you loose that keyfile you will be up a creek without a paddle so keep it save. Clicking the keyfile option is only one thing, be sure to click on the keyfiles button to add it:
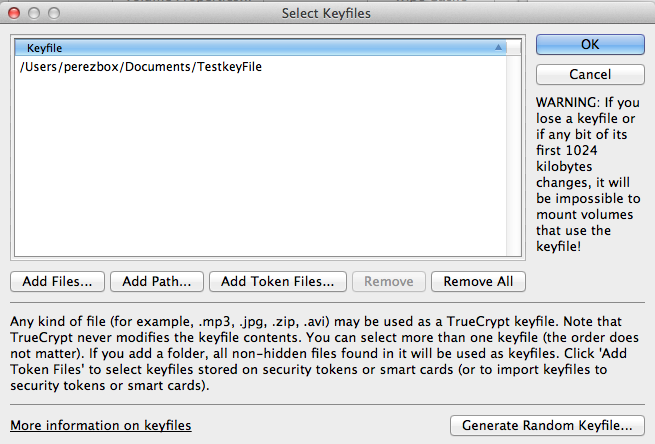
If successful then you will see the container mounted in your TrueCrypt application:
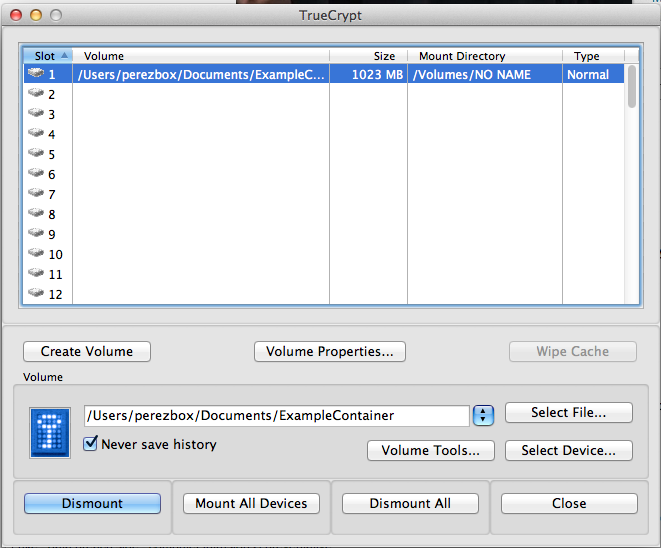
Ok, now what?
Great question, now you access it the way you would any directory, open your Finder application:
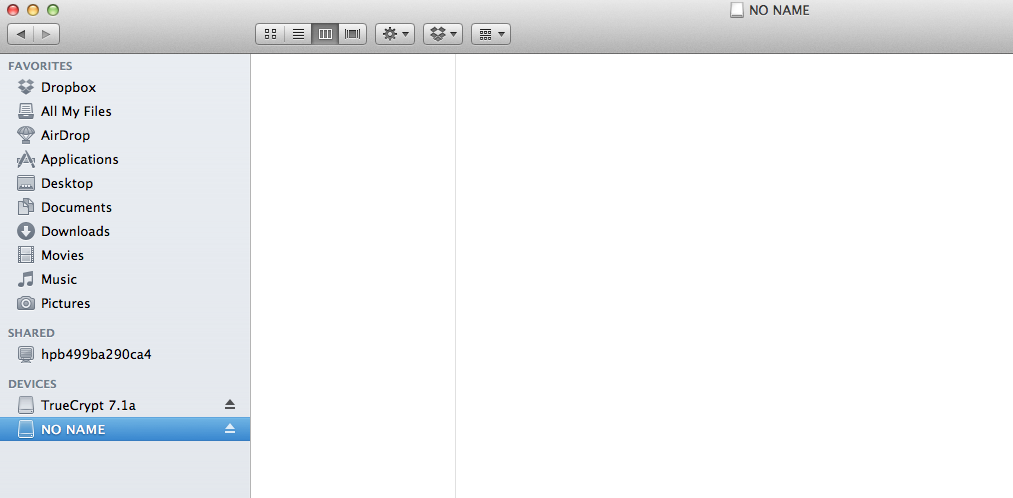
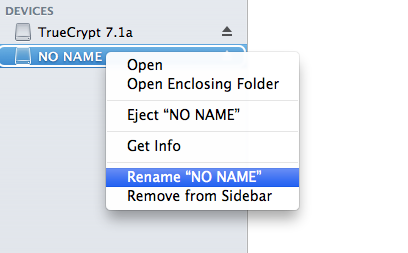
You’ll see I highlighted the container. You can see how it was mounted. It obviously has no name, but that’s ok, you can change that by right-clicking and selecting rename:
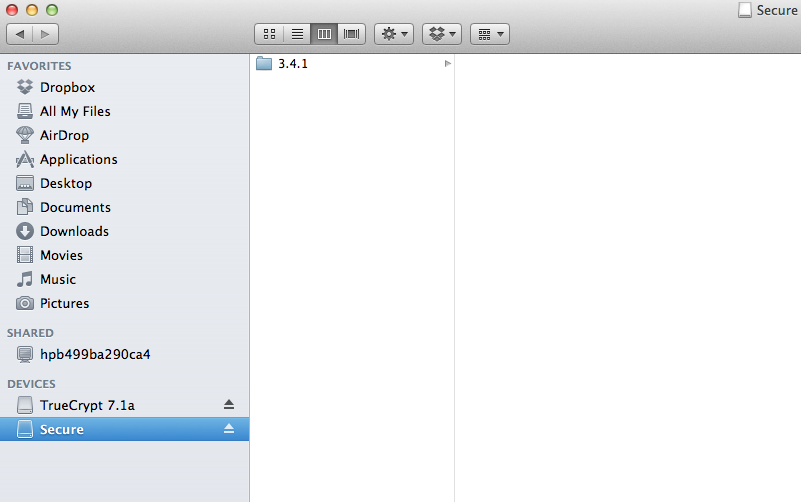
Now you can drag and drop any files you want into the container the same way you would any other directory:
Using With Dropbox
This is even easier than the last section. All you have to do here is copy / paste the container you created and drop it into a directory in Dropbox. That’s it!!
The only thing to note is that you have to unmount the drive for it to synchronize with all your installs. And, in order to use on other machines you’ll need to have TrueCrypt installed, the password and the keyfile you created.
If you have any questions let me know
I’m not a TrueCrypt employee but am willing to help in any way I can. The other thing to note is that the installation and configuration above is also applied to Windows and Linux distributions. Cheers!

